
Learn how to Create, Deploy an NFT Smart Contract and Develop a Front End App in 15mins


Table of contents
- Step 1: Developing the Smart Contract
- Lets run through our smart contract real quick🏃
- Step 2: Getting up the infra needed to deploy and test our smart contract
- Step 3: Deploying the Smart Contract
- Step 4: Next.js App
- Installation and Setup
- Features of Next.js
- Pages
- Step 5: NFT storage and connect the wallet
- What is NFT Storage?
Step 1: Developing the Smart Contract
Below is the code for our smart contract. You can get it from here NFT.sol
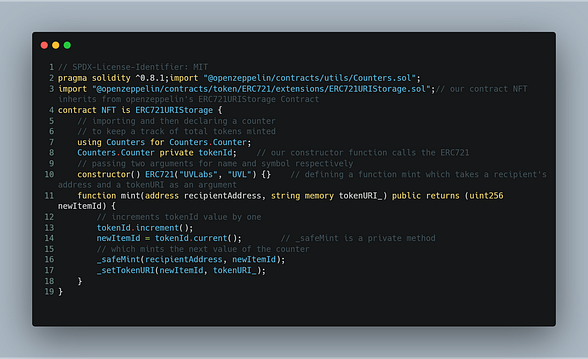
Lets run through our smart contract real quick🏃
We have used the standard contracts provided to us by openzeppelin; once you get full time dev into Smart Contracts, you will realise Open Zeppelin Contracts are God Sent. In order to use their contracts, we need to install them locally in our project.
Then, we have defined our contract NFT, which inherits from openzeppelin’s ERC721URIStorage contract*.*
The next two lines are used to keep a track of the total numbers of tokens minted.
Then, the constructor function calls the openzeppelin’s ERC721 which takes two arguments i.e. the name and symbol*.* You are free to choose your own name and symbol.
Then we have our friend, the mint function. It takes in 2 parameters. First, the address to which the NFT has to be issued; Second, the tokenURI. We will explain the tokenURI part in a bit.
Step 2: Getting up the infra needed to deploy and test our smart contract
Now as per the “set” practices, you would be expected to deploy the above contract on either a local blockchain node (eg: Hardhat or Truffle) or a public testnet like Goreli Testnet. While that is okay, except the following pain points:
In relation to the Goreli Testnet:
It is not a Mainnet 😞 which means it does not have the same state of tokens or for that matter the most important ‼️
Faucet: Need I explain more? 😤
In relation to the local node:
Mainnet fork: Check ✅
Faucet: Check ✅
Debug my contract with ease: Sadly not with ease (yes, I could use some console.logs, but largely that is about it). 😢
Share state of my transaction with my friends / mentor to get some feedback: Well, its called
localhostfor a reason! So forget about it. 😭
2.1. That is where BuildBear comes in. It kind-a marries the benefits of both the world for you:
Mainnet fork: Check ✅
Faucet: Check ✅
Debugging my transaction: Check ✅ [comes with an in-built transaction tracer]
Share the state of my transaction with my friends/mentor to get some feedback: Check. ✅
It is a private testnet for a team, hence, I have the ability to invite my friends/mentors to my own testnet and review my transaction
Have a look over here: **Where Localhost Fails and *Win Web3 Hackathons, using BuildBear Testnet’s analytics
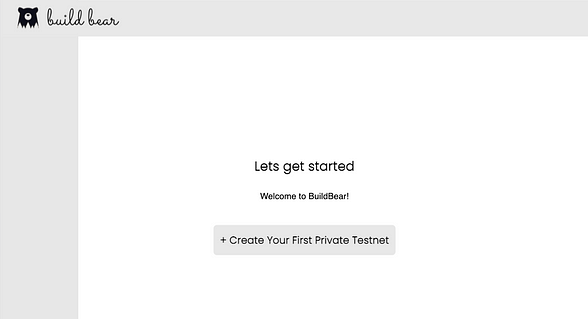
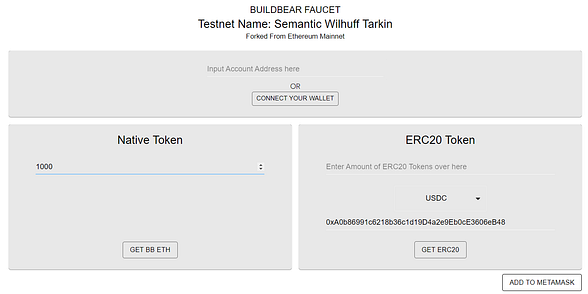
2.2. Visit the BuildBear App. Once you login with your Github or Google Account, you will see a page similar to the image added below:
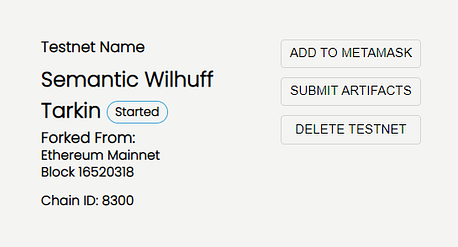
2.3. Create your private node forking from the Ethereum Mainnet:

2.4. Add your private testnet to your MetaMask wallet by using the “Add to Metamask” button:
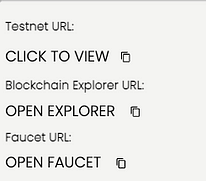
2.5. Mint your Eth tokens from the Faucet (using the Faucet URL):
2.5.1. Minting the Tokens
Step 3: Deploying the Smart Contract
3.1. Navigate to the Remix Online IDE website and accept the terms and conditions.

3.2. Create a new contract and paste the Smart Contract Code, available over here 👉 GitHub Link
3.3. Compile the Smart Contract, with Solidity Version 0.8.1, by using the following icon and details:
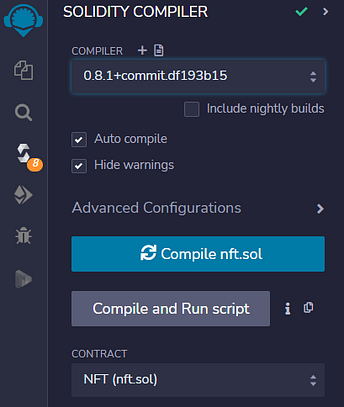
Please note that the ABI of the Contract is available only once the Contract is compiled. You can see in the above image the ABI which can be copied. Please keep this handy. We will need it momentarily.
3.3. Select the “Deploy and Run Transactions” tab: and deploy the contract as follows:
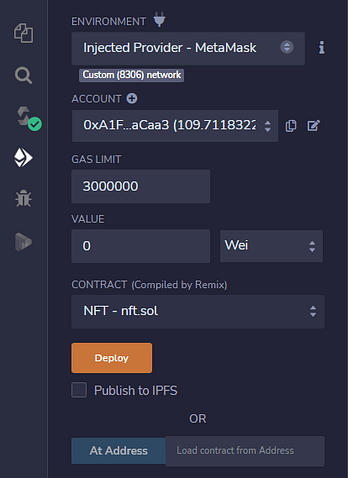
- Make sure that you update the Environment to “Injected provider — MetaMask” | CRITICAL,
3.4. Click on the “transact” button to deploy the contract to your private node network; once done, you will see something similar to the following:
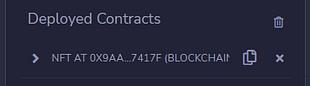
3.5. Copy the address of the Contract and visit the Blockchain Explorer for your personal forked testnet (link available on the dashboard page at home.buildbear.io) and locate your contract.
3.5.1. Submitting the ABI of the contract for ease of interaction
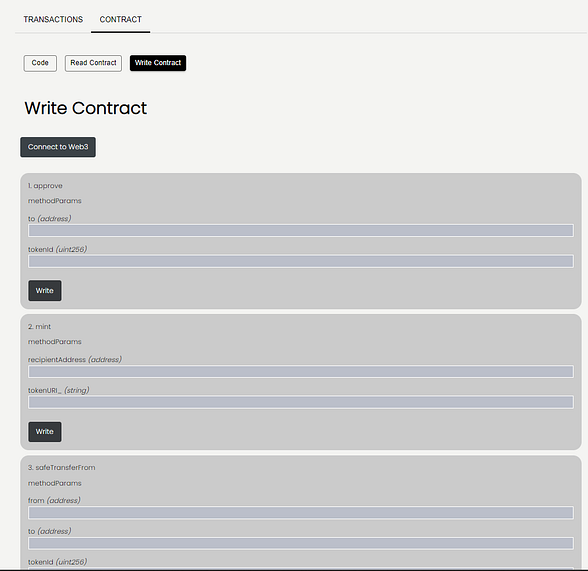
You can visit your contract page on BuildBear’s Blockchain Explorer and then visit the Contract tab. You should see something similar to the following:

Submit the ABI that we copied from Step 3.3; once done, you should see the Read and Write Contract buttons made available to you on the Contract Page:
WOOT WOOT 🎉 🎉
Step 4: Next.js App
Installation and Setup
The easiest way to create a new Next.js application is by using the create-next-app CLI tool. You can install it via npm:
$ npm install create-next-app
Once installed, you can initialize a new Next.js application by calling the tool and supplying a name for your project:
$ npx create-next-app nft-app
Note: If you don’t already have create-next-app installed - npx will prompt you to install it automatically.
Once the tool finished initializing a skeleton project, let’s move to the directory and take a peek inside:
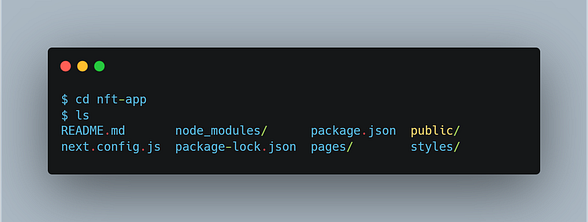
The standard package.json, package-lock.json and node_modules are there, however, we've also got the /pages, /public and /styles directories, as well as a next.config.js file!
Let’s take a look at what these are.
Features of Next.js
Next.js is ultimately an extension for React, and it does introduce a couple of new things that make React application development simpler and faster — starting with Next.js pages.
Pages
Next.js makes creating multi-page applications with React ridiculously easy with its default file-system-based router. You don’t need to install any additional packages, such as react-router-dom, or configure a router at all.
All Next.js projects include a default /pages directory, which is the home of all of the React components you'll be using. For each component - a router will serve a page based on that component.
Next.js project setup is done
Step 5: NFT storage and connect the wallet
Since storing data on Blockchain is expensive we will be using IPFS to upload the NFT Data, for this we are going to use NFT.storage service
What is NFT Storage?
NFT.Storage is a storage service that lets you upload off-chain NFT data(like metadata, images, and other assets) for free, with the goal to store all NFT data as a public good.
The data is stored perpetually in the Filecoin decentralized storage network and made available over IPFS via its unique content ID.
Get an API token From API Keys after creating an account, you can use our API KEY to get it here API KEY
Install the package with
npm installnft.storageCreate a Component
StoreMetadata.jsxand add this code to the file
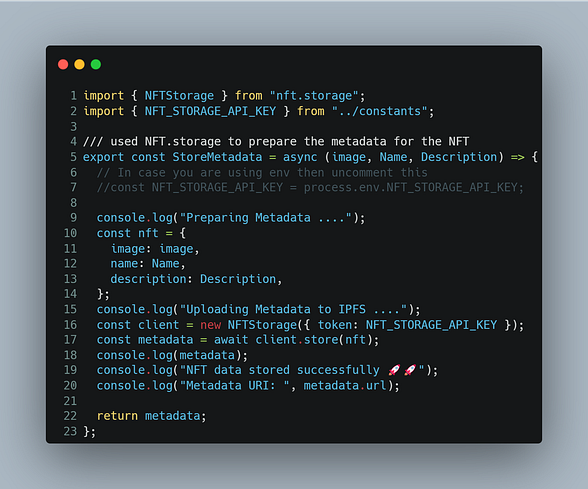
This is the main component that prepares the metadata from the inputs we give and then uploads it to IPFS via the JS client created.
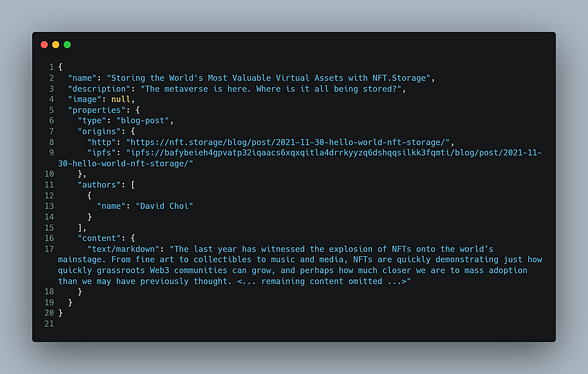
You can customize the metadata according to the standards for the Token type For Example Metadata file you can edit which data you want to add or select.
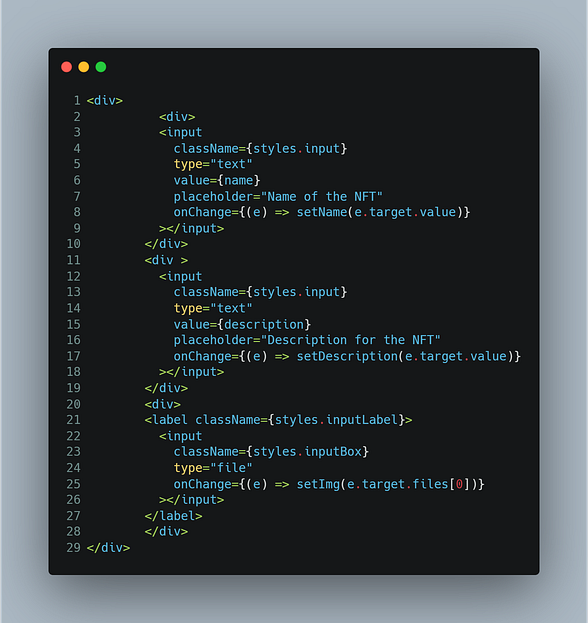
- In the main
index.jsfile Set states for the inputs(in our case name, description, and Image file)

- Then input can be taken in this way, from this Html code, don’t worry about the UI copy the code from here Home.module.css, and paste it into
Home.module.css
Connecting our application with blockchain
We need something that connects our client to one of these nodes of blockchain so they can start using the full power of the blockchain, that’s exactly what ether.js is it’s a library written in javascript that lets as create any javascript application that talks to the blockchain so we can use and create many applications which are going to be based on decentralized application (daps). It’s the bridge that essentially that takes your client and it allows it to connect to the blockchain.
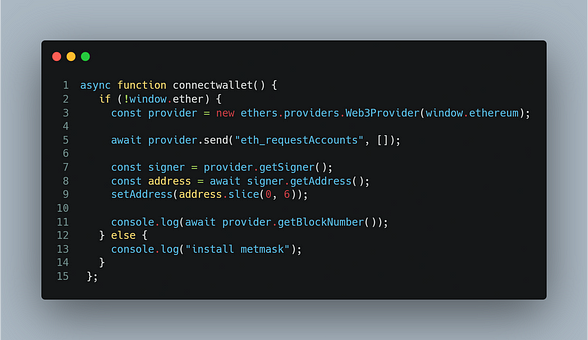
Installing
npm install --save ethersLet’s Create a Connectwallet function that connects our application Metmask wallet. This check if the wallet is installed if so then MetaMask will pop up to connect.
- Create a function that calls Store metadata from the component and gets the IPFS link of NFT and then the mint function of the smart contract is called with the Ipfs link of NFT and user address
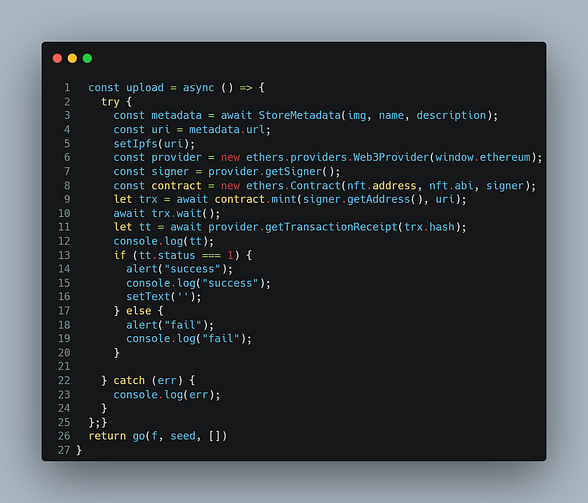
- This function can be called with a button when the inputs have already been set.
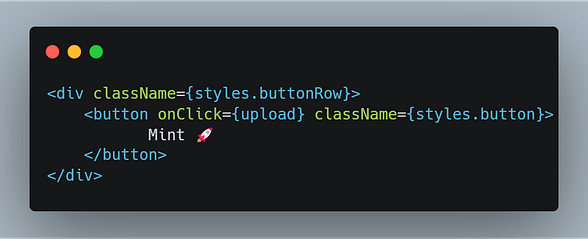
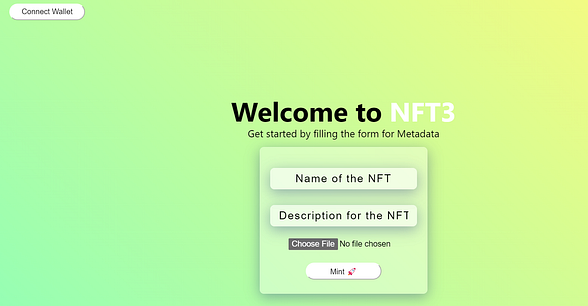
Let’s test the app
Connect the wallet. enter name, description, select the image, and press the mint button and sign the transaction. one’s it is successful you received an alert.
Go to the block explorer and look at the Transaction details

We have successfully built the NFT Mint!!! 🎉🎉🎉
Share your project on Twitter and LinkedIn as tag BuildBear
If you appreciate what we are doing, please follow us on Twitter, and LinkedIn and Join the Telegram group if you haven’t done yet.
And please give us a clap 👏 if you like our work.
Create your Private and Customized Testnet using BuildBear
Code Repo : https://github.com/BuildBearLabs/Tutorials/tree/main/NFTStorageDemoApp-main