


Uniswap V4 represents a significant leap forward for the Uniswap protocol, enhancing the capabilities of decentralized exchanges (DEXs) and automated market makers (AMMs) to offer users an unparalleled degree of flexibility, efficiency, and customization. We have covered Uniswap v3 and integrated it into our project earlier.
What is New in Uniswap V4?
Hooks Feature: Hooks are smart contracts that can be linked to liquidity pools, giving a lot of room to customize various stages in a pool's life, such as swaps and changes in liquidity. This allows adding specific features like limit orders, customized oracles, or custom AMM curves.
Singleton Contract Architecture: In earlier versions, every token pair needed its own contract. Uniswap V4, however, uses a Singleton contract model. This means that all pools are converged into one contract, cutting down on gas costs for trading and pool creation. It also makes multi-hop trades more efficient.
Flash Accounting System: This system lets users do multiple things in one transaction, like swapping and adding liquidity. It keeps track of the net balances of inbound and outbound. If any debts are left at the end of the transaction, it reverts to ensure security and efficiency.
Unlimited Fee Tiers: With the introduction of unlimited fee tiers for liquidity pools, each pool can have its own fee structure, matching different assets and trading strategies more precisely.
Direct Trading Pairs with Native ETH: Instead of needing Wrapped ETH (WETH), Uniswap V4 allows for direct trading pairs with regular ETH. This simplifies trading and lowers transaction costs.
Community-Driven Innovation: Uniswap V4 encourages collaboration in development. Its source code is open for the community to contribute to, promoting active engagement and suggestions for new features and improvements.
How to Integrate Uniswap V4 into Your Contract
Let us find out how to do a swap using Uniswap v4. To get started, Explore the key functionalities in the smart contract.
Contract Initialization: The contract is initialized with an instance of the IPoolManager interface, which grants access to the Uniswap pool manager contract.
Swapping Tokens:
The SwapTokens function is responsible for initiating a token swap operation. It accepts three parameters:
poolKey: A struct containing details about the specific Uniswap liquidity pool to use for the swap, including token addresses, fees, tick spacing, and hooks./// @notice Returns the key for identifying a pool struct PoolKey { Currency currency0; Currency currency1; uint24 fee; int24 tickSpacing; IHooks hooks; }swapParams: Additional parameters specifying the swap details, such as direction (buy vs. sell), swap amount, and price limits. The sqrtPriceLimitX96 represents the lowest price you are fine to accept. It's represented as the square root of thex * yformula. X96 refers to this being represented as a fixed-point decimal with 96 bits of precision to the right of the decimal point.struct SwapParams { bool zeroForOne; int256 amountSpecified; uint160 sqrtPriceLimitX96; }deadline: A timestamp indicating the deadline by which the swap operation must be completed.Locking and Swap Execution:
Upon calling
swapTokens, the contract invokes thelockfunction on the Uniswap pool manager, effectively requesting permission to conduct the swap.Once the lock is acquired, the Uniswap pool manager contract automatically triggers the
lockAcquiredfunction on theUniSwapTestcontract.Within
lockAcquired, the contract verifies the integrity of the call and checks if the swap deadline has passed. It then executes the swap operation using the Uniswap pool manager contract'sswapfunction and settles the resulting token balances accordingly.Settling Token Balances:
The
_settleCurrencyBalancefunction is responsible for settling token balances after a swap operation. It distinguishes between native tokens (ETH) and ERC20 tokens, handling token transfers accordingly.If the delta amount is negative, indicating that the pool owes tokens, the contract calls
taketo reclaim the owed tokens. Otherwise, it settles the owed tokens by either transferring ERC20 tokens to the pool manager contract or sending native ETH directly.
Implementation Contract

The working repository can be found here.
Clone and Install necessary dependencies
git clone https://github.com/sanamummer/Uniswap-v4.git
cd Uniswap-v4
npm install
Create your private testnet
npm run createTestnet
Once the Testnet is live, its RPC, Explorer, and Faucet details are added to the testnet.json file.
To deploy the PoolManager**.sol** smart contract, run the following command:
npx hardhat run scripts/deploy.js

Now pass this contract address to constructor argument of swap contract and deploy it using:
npx hardhat run scripts/Swap-tokens.js

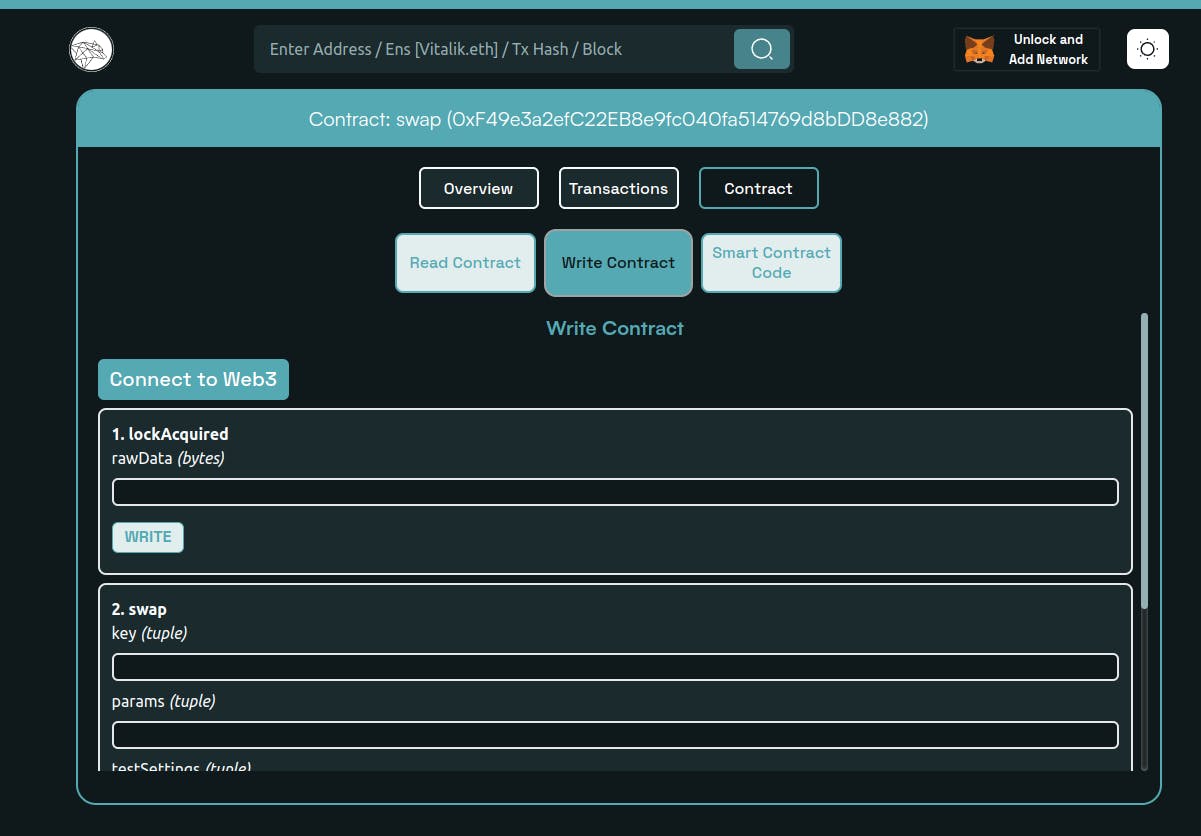
Click on the Explorer link to see the verified contract details.
In conclusion, we’ve learned the roles of different contracts in Uniswap v4 and the optimal way to integrate Uniswap v3 into our contract.
About BuildBear:
BuildBear is a platform tailored for DApp development and testing. Developers gain the freedom to construct a personalized Private Testnet sandbox across a variety of blockchain networks. The liberty to mint unlimited Native and ERC20 tokens, coupled with rapid transaction times on BuildBear (under 3 seconds!), enhances the DApp development lifecycle manifold. The platform comes equipped with tools designed for real-time testing and debugging, ensuring developers can keep tabs on intricate blockchain transactions with unparalleled ease.
Connect with us on Twitter | LinkedIn | Telegram | GitHub
Author: Sana