This article was originally published on the BuildBear website at https://www.buildbear.io/resources/guides-and-tutorials/loki_Code.
Lokicode simplifies Web3 development by enabling you to manage, compile, test, and deploy your smart contracts all in one place.
Why developers love Lokicode:
Effortless collaboration: Work seamlessly with your team, share progress in real-time, and keep sensitive data secure.
Unmatched efficiency: Import projects from GitHub, compile and deploy smart contracts with ease, and track every change effortlessly.
Reduced complexity: Ditch the days of managing multiple outdated tools. Lokicode centralizes everything you need for smooth development.
Cost-effective solution: Eliminate the need for expensive DevOps infrastructure and save valuable resources.
Deploying Your First NFT Contract on Lokicode
1. Sign Up and Create a Project:
- Visit https://www.lokicode.io/ and sign up using your email address.
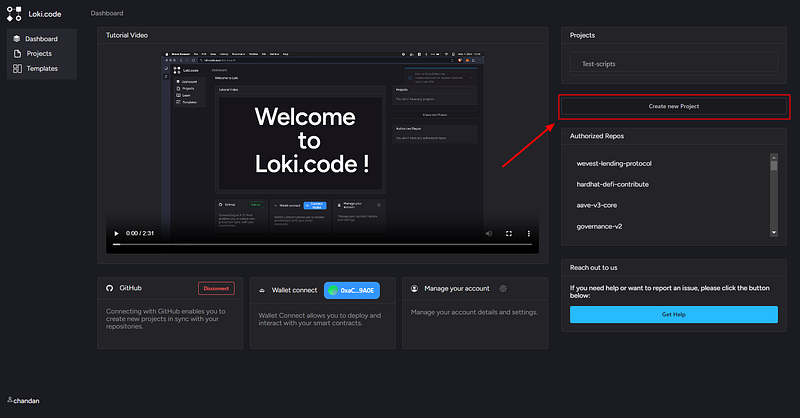
Once logged in, you can create projects from pre-built templates or import your own from GitHub.
First, let’s use the pre-built Templates.
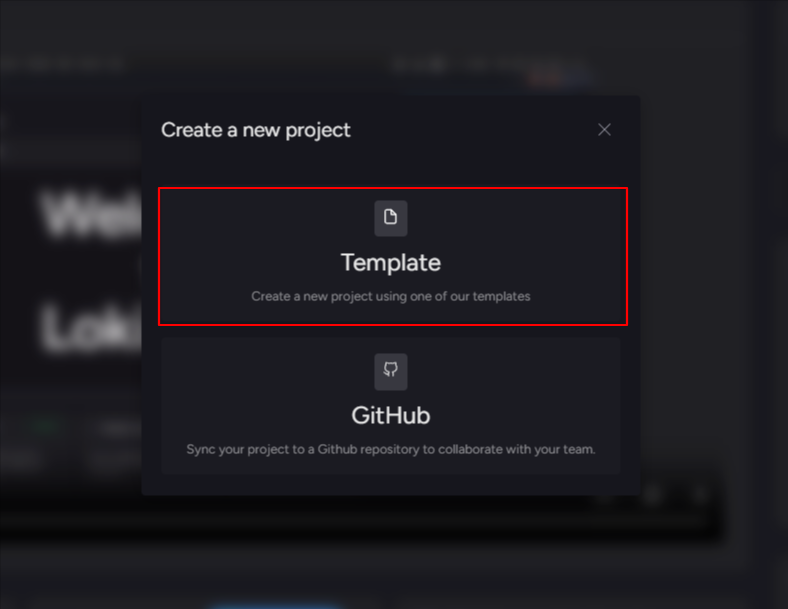
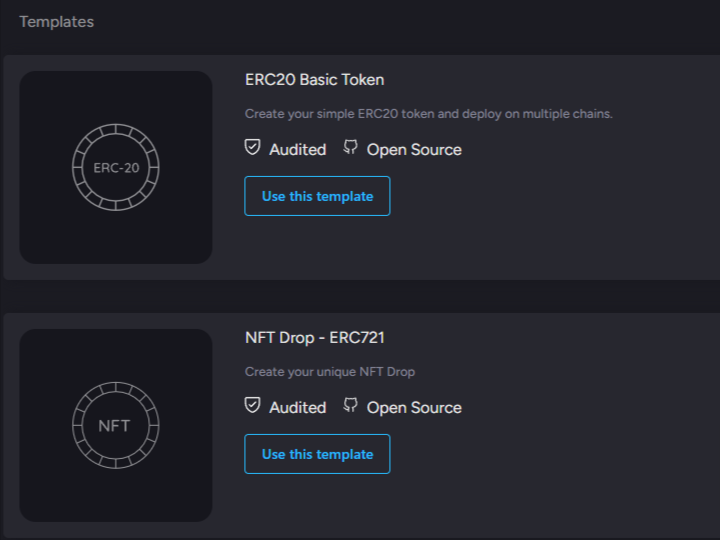
- Select Template and start by clicking “Use This Template” under the “NFT Drop — ERC721” or “ERC20 Basic Token” template.
1.2 Configure and Deploy Your Contract :
Enter details like contract name, ticker, description, supply, price, and specify the revenue address (where funds from NFT sales will be sent).
Choose the network (e.g., Mainnet, Testnet)
Use List of Faucets for Public Testnets to acquire the native token needed for gas fees.
Review the details and click “Deploy.” Confirm the transaction in your wallet.

1.3 Access Your Contract:
- Once the deployment is complete, Lokicode displays your contract details.
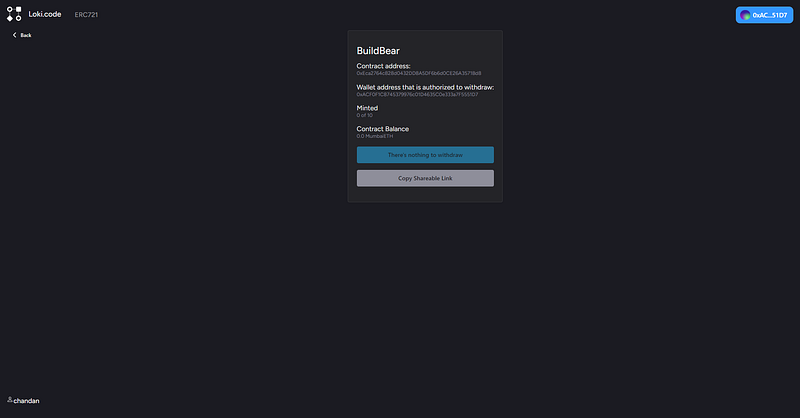
- Copy the shareable link and open it in a new tab. This allows users to mint your NFTs.
1.4 Mint and Manage Your NFTs:
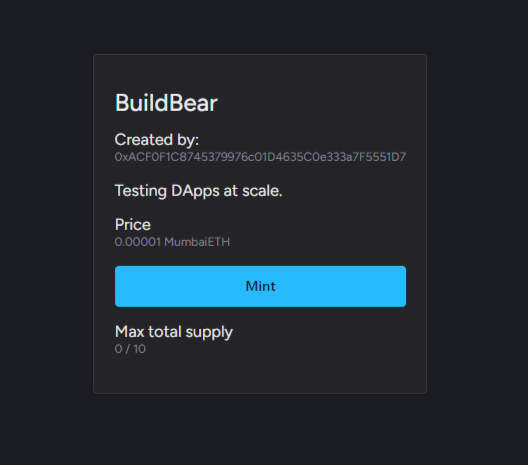
- Users can now mint their NFTs directly through the link you provided.
Great! Now, let’s use the projects available from your GitHub account. To get started, we’ll need to connect your GitHub.
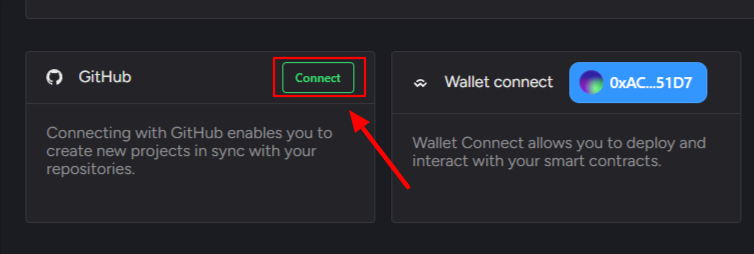
1.5 Selecting Project:
- Choose the project you want to use from your repositories. Here is the repository we have used: BuildBearLabs/lokiCode-Tutorial
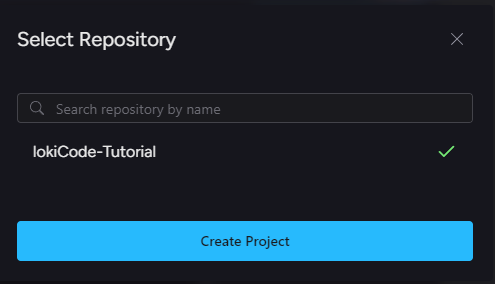
1.6 Deploying the Token Contract
- Click on the settings icon in the top right corner.
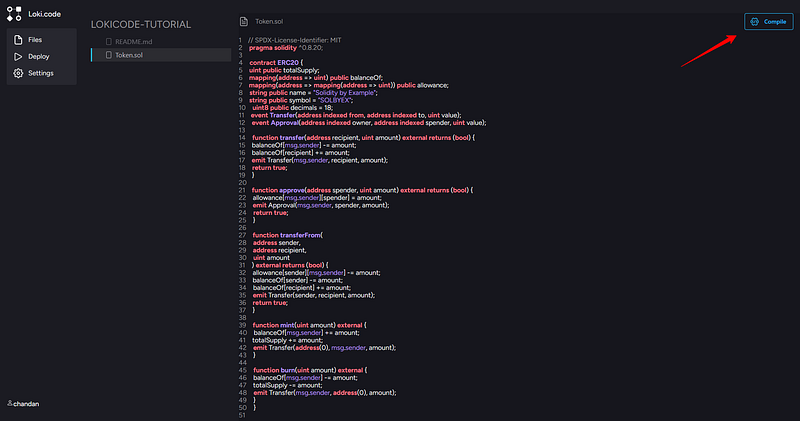
Select Compile to ensure the contract code is up-to-date.
Choose the Testnet you want to deploy to and select the contract file.
Click Deploy and confirm the transaction in your wallet.
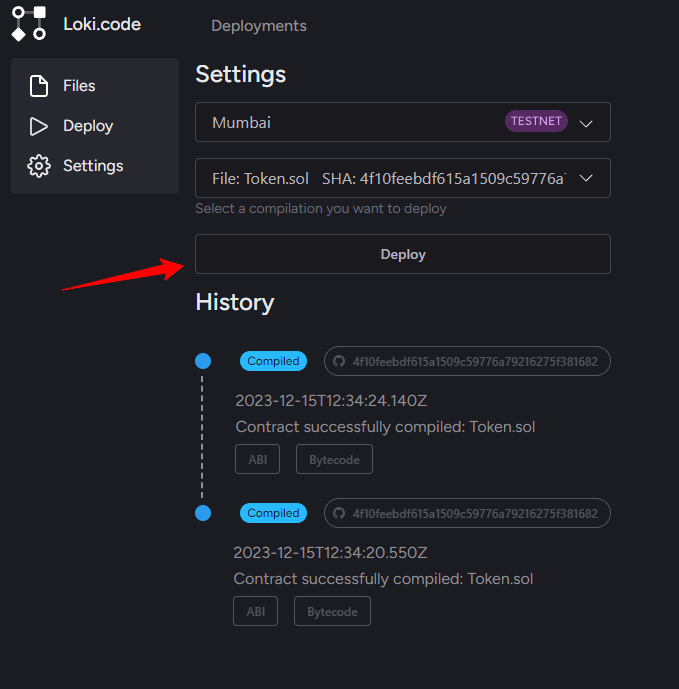
1.7 Exploring the Contract Functions
Once deployed, click the Playground tab. Here, you’ll see all the read and write functions available for the contract. You can use them to interact with the contract’s state.
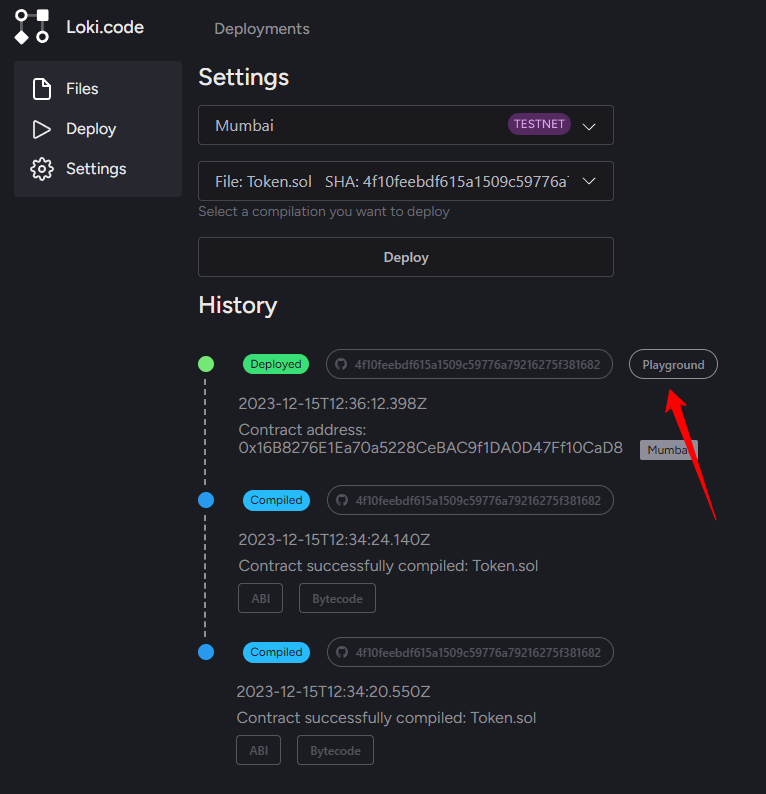
1.8 Minting Tokens
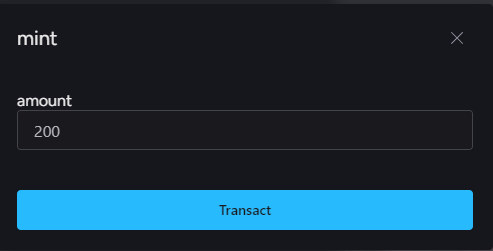
Locate the mint function and enter the desired token amount.
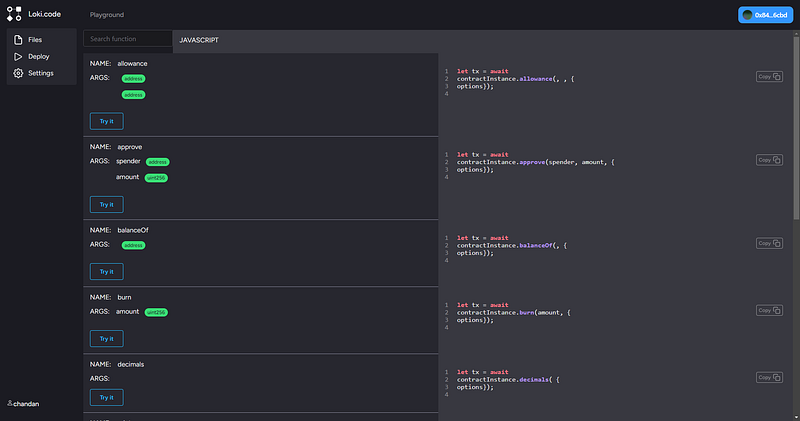
Click Transact and confirm the transaction in your wallet.
Conclusion:
Lokicode empowers you to:
Focus on what matters: Spend more time on creating innovative dApps and less time on tedious tasks.
Ship features faster: Streamlined workflows and instant deployments help you achieve quicker results.
Scale with confidence: Lokicode grows with your team, ensuring efficient collaboration at any stage.
Stay ahead of the curve: Access the latest Web3 development tools and resources within the platform.
Use lokicode Now!
About BuildBear:
BuildBear empowers you with:
Instant Sandboxes: Create a custom sandbox tailored to your specific needs in seconds.
Dedicated Faucets: Never run out of test funds with built-in faucets for each sandbox.
Blazing Fast Transactions: Experience lightning-fast transaction speeds for smooth development and testing.
User-Friendly Explorer: Debug with ease using a clear and intuitive blockchain explorer.
Plus, many more features: Explore a comprehensive suite of tools and functionalities to streamline your DApp development workflow.
